Being able to output images and other content into a carousel is a great way of optimising page space. With Sitefinity, you have a couple of choices regarding how you could achieve this.
If you are a content author, then Sitefinity allows you to do this out of the box by using the Image gallery widget; whilst if your requirements are more complicated or do not require images, your developer can easily create a customised version by using the inbuilt Sitefinity module builder. Let’s start with the first option.
Image gallery
Whilst logged into the backend of your Sitefinity website, edit or create a page. On the right hand side, ensure that the Content option is expanded, and drag the Image gallery widget onto the page.

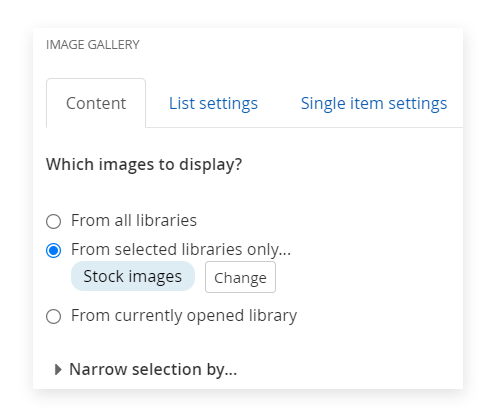
Click to Edit the widget, and select the images or image library whereby your images are stored.
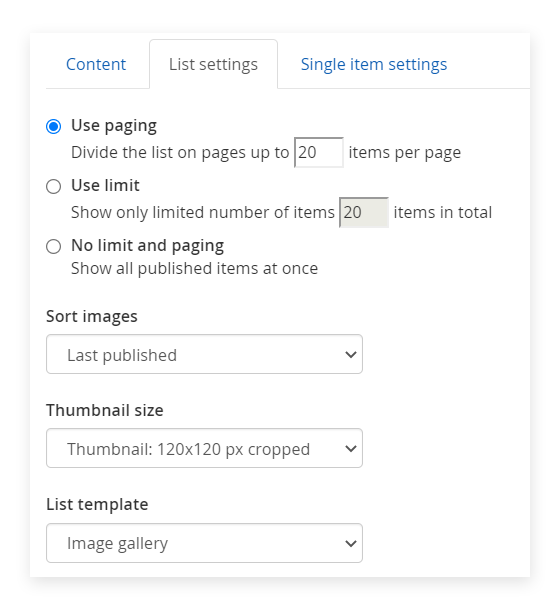
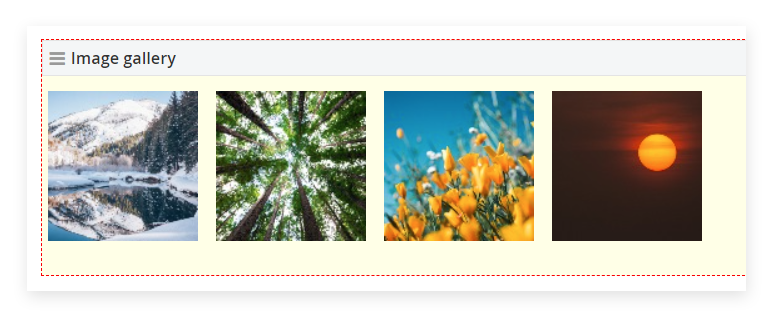
Next, switch to the List settings tab and notice that the List template is pre-selected to Image gallery. This will simply output the images side-by-side, but there are couple of other interesting options…
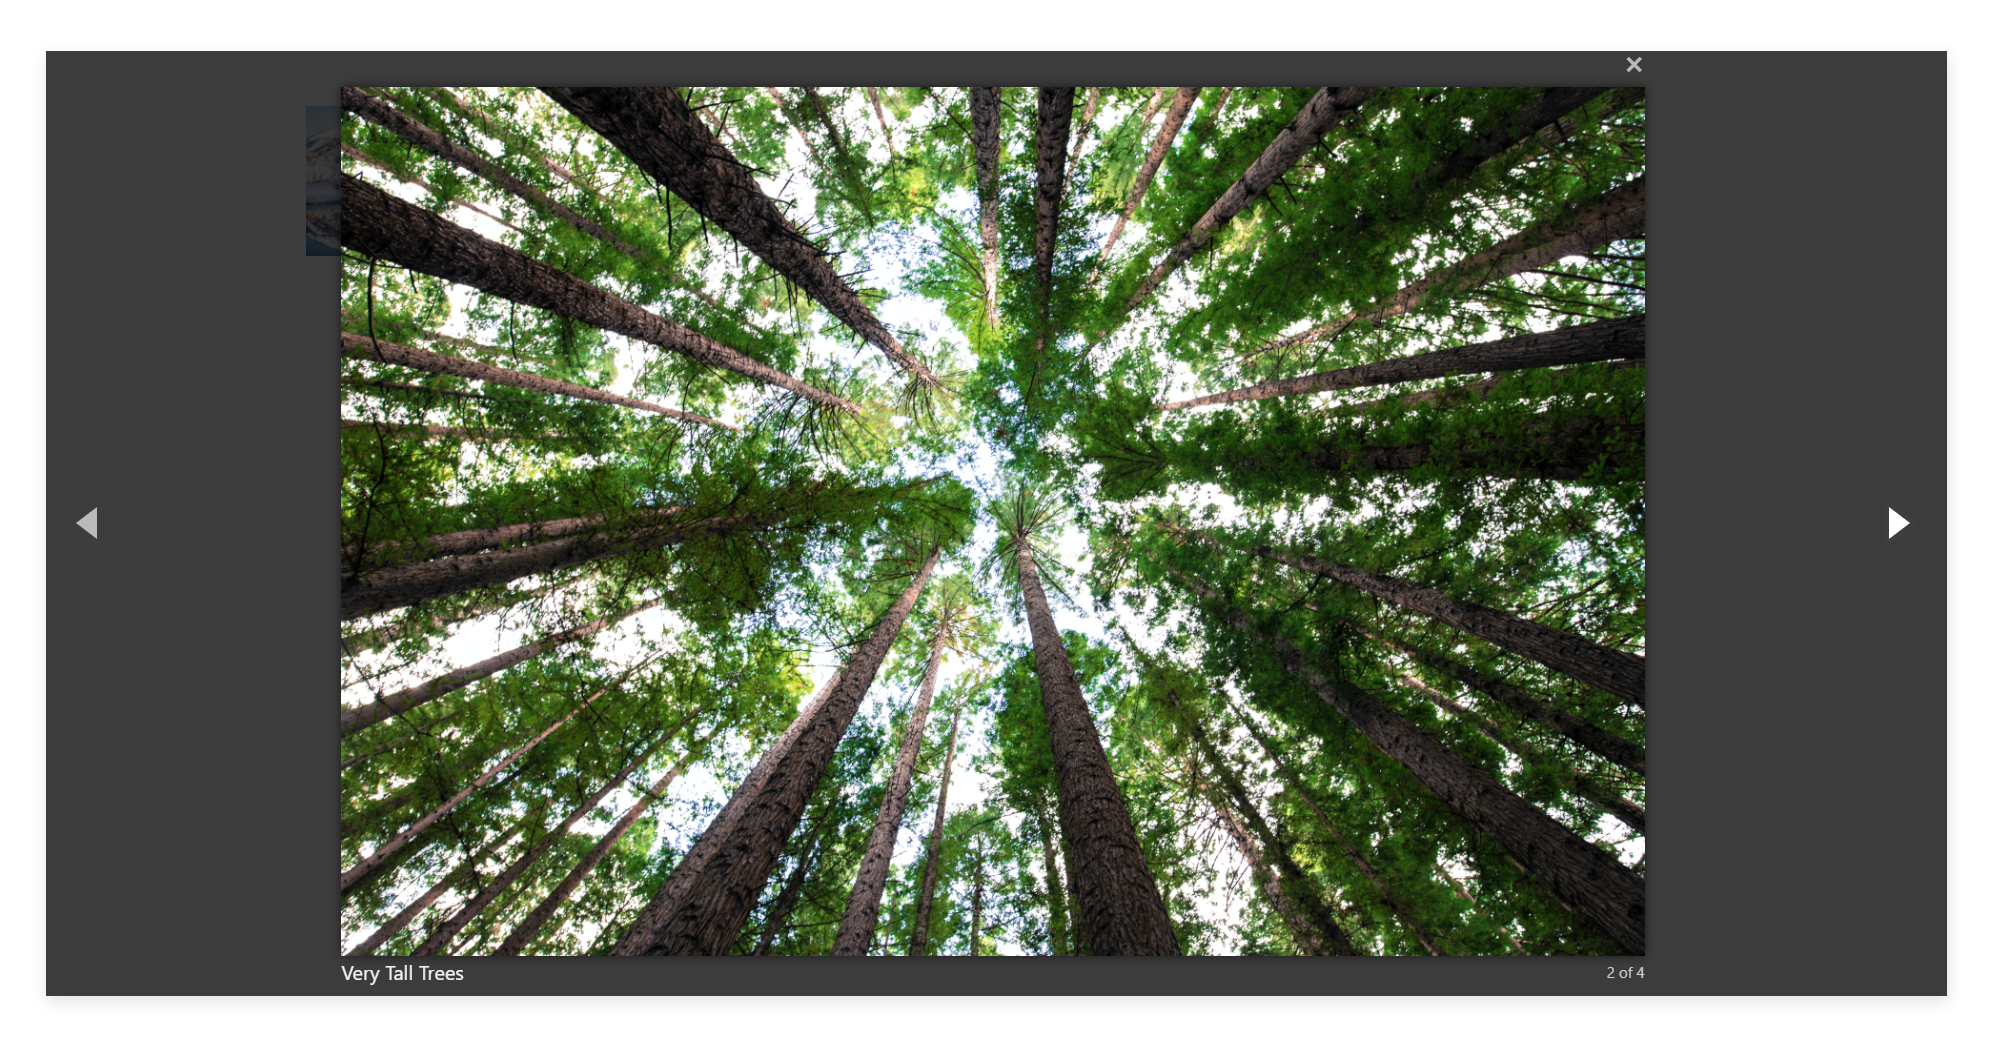
If we select the Overlay gallery option and then save, you’ll notice that when previewing the page you will be able to click on each photo in order to bring up a full screen slider interface.
Otherwise, upon selecting the Thumbnail strip option we will be able to switch between the images by using the smaller images that run along the bottom, and also by clicking the left and right arrows which appear as you hover. Let’s go with this option for now…
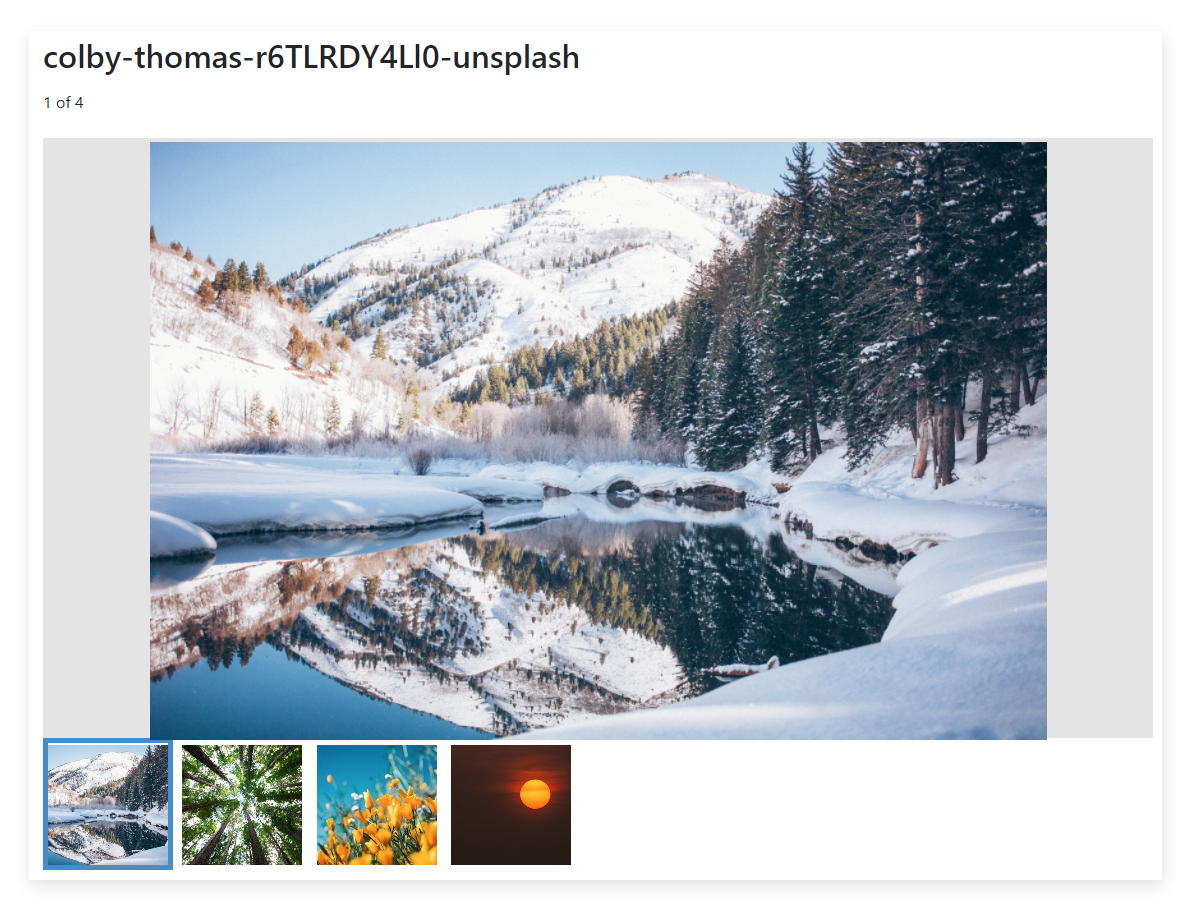
It looks like our image title is outputting for each image which is great, but that’s not a particularly user-friendly title appearing above the gallery, so we can change it by navigating in the backend to Content > Images, then we find our image and edit the title.
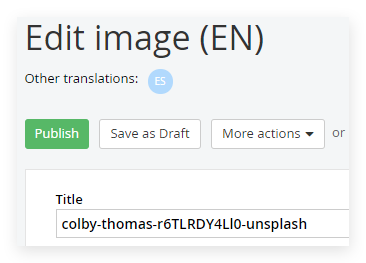
That’s much better, now we have a fully responsive image slider with user-friendly titles.

- Notice that there are a few more options when editing the Gallery slider widget, we can limit, sort and paginate our slider content.
Custom slider
- You’ll need to ask your web developer (or Spinbox) to implement this option. Let’s say we want a slider that also has the ability to output a call to action button and extra description.
- Sitefinity has a built-in tool called the Module Builder which allows developers to create new custom modules. For instance we can create a new module called My Slider and add some custom fields to it. This option lives under Administration > Module builder.
- Once the module is created, the developer will be able to create a file within the web project called a View whereby they can begin adding the required code to output each of the My Slider items.